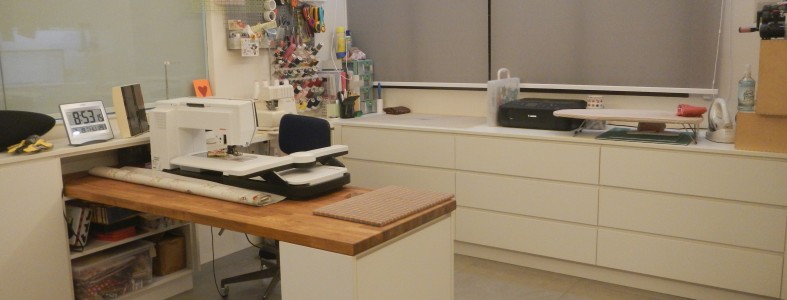
My sewing room tour
We moved to our own apartment a little more than 2 years ago. It is a 1,100sqf 5-room HDB flat, overlooking an old part of Singapore.
Even before we signed on the dotted line with the seller, we scrutinised the floormap, measured every inch of the apartment, and tried to allocate space to fit storage for our gear, living quarters, home office and dining area. In order to accommodate my sewing hobby (and also for the kids to lay their train tracks), we gave up the conventional living room (we always entertained at our dining table anyway) and built A LOT of storage in this small apartment.
I’m going to share some pictures and write up on the set up. The pictures were taken this evening, so apologies for the lighting. No fancy filters or photoshop treatment too, if not, we probably can’t get this tour started anytime soon. So now, please follow my *tour guide flag* and step this way! WELCOME!
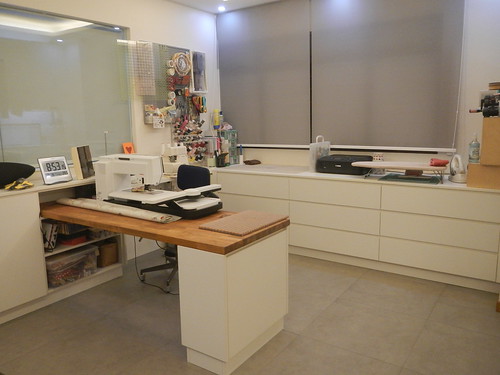 During the day, the blinds will be up and I get lots of natural lighting here. The glass wall separates our home office from the rest of the apartment. When I’m crafting and my son is using the computer or doing his work, I can still keep an eye on him.
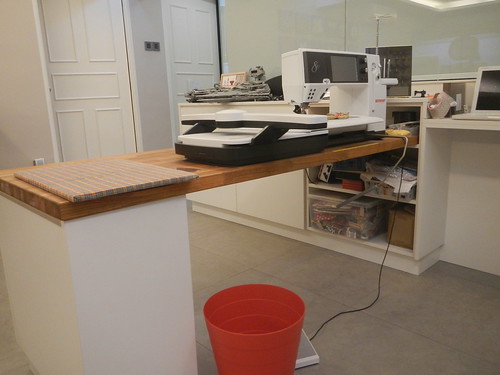 From this shot, you can see that the sewing machine sits at a lower level, so that it is more comfortable to sew for long hours. The Ikea kitchen worktop is supported by a standalone cabinet and the other end rests on the wall cabinet shelf. We brought this worktop from our previous residence and it is perfect for my Bernina as I use the knee lift a lot.
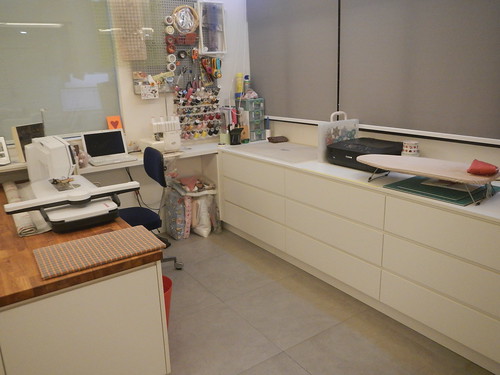 Here’s an overview of the ‘workspace triangle’. Starting from the sewing area, I can swing to my right to access the serger or laptop. The peg board of rulers and cutters are all within reach of the cutting mat. The drawers under the cutting surface house supplies, zippers, ribbons, kits, threads, etc.
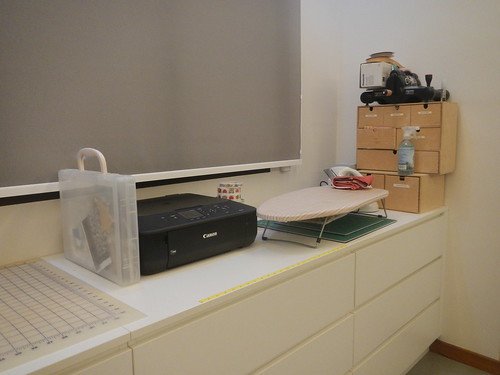 The printer is a new addition – I have started using Inklingo for a few projects and I was really chuffed (and relieved) that the printer could fit on this worktop. The spot between the cutting mat and the ironing station is ideal, as I can iron freezer paper to the fabrics, feed them through the printer and then cut out the shapes.
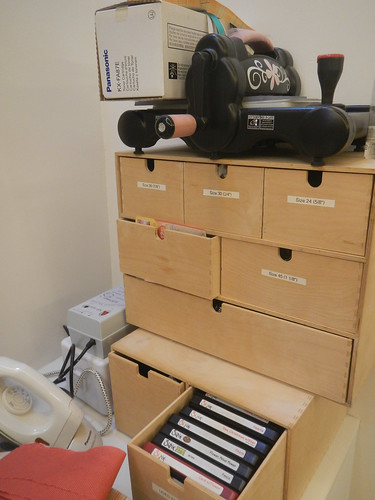 Ikea storage for my button supplies and Sizzix cutting dies. The Cordless iron and bias tape maker share the little corner here.
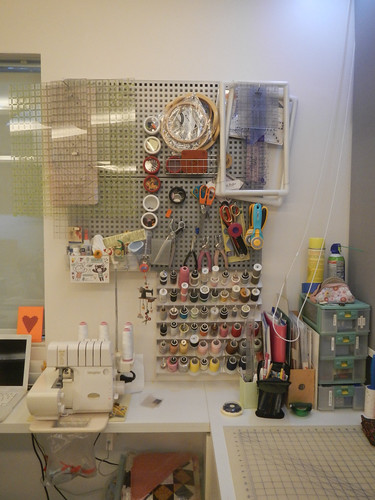 “Mummy’s Wall” – I believe there’s a commandment about not helping yourself to any tools hung on mummy’s crafting wall. I have downsized the peg wall (again, Ikea) from 4 panels at our old house to the current 2-panel set-up. I de-cluttered almost 50% of what was on the wall to its current state. Much better now.
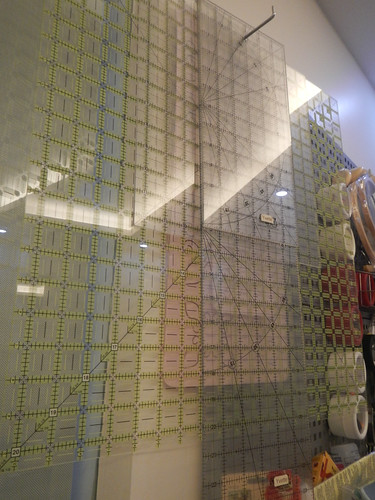 Larger rulers and quilting templates. My largest ruler is 20.5″ x 20.5″ and the longest is 24″. There really is no other way to store these rulers except to get them up on the wall.
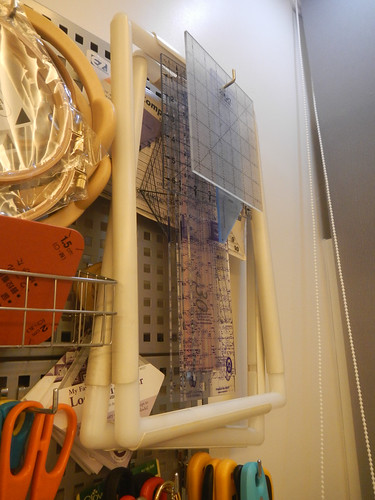 Embroidery hoops, quilting frames and miscellaneous rulers at the other end of the wall. Those are the Marti Michell Log cabin rulers and other odd sized doodads.
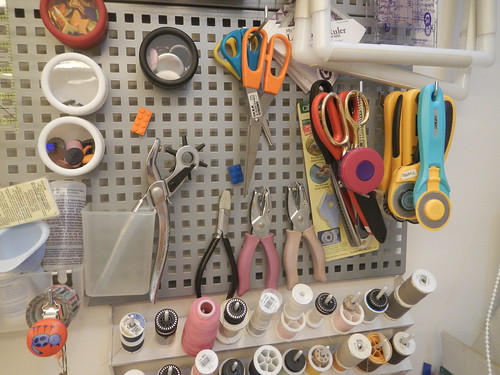 Magnets are my very good friends, as you can see from here. I use the very strong ‘rare earth’ neodymium type. And you can see 3 pairs of Ikea scissors on this wall now. There were 7 such pairs lying around my crafting area before I tidied up my area! These scissors are never there when you need them. But when you do, you cannot find them! And then I have the fabric scissors – the measuring tape is hung on the same peg – a subtle way of telling itchy fingers that these are not the scissors you want *jedi hand wave*. And yes. That’s my Olfa cutter ‘collection’.
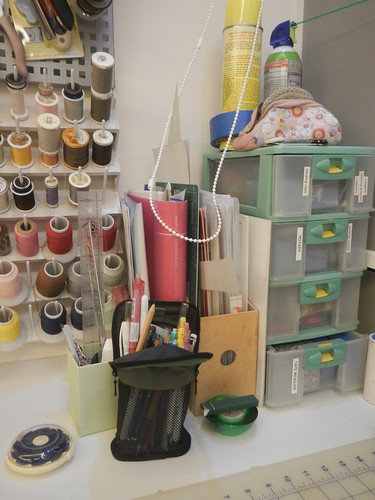 My notions commotion area here. The pencil case contains all my marking pens and pencils, and the little box behind holds my seam rippers (yes, plural), and shorter acrylic rulers.
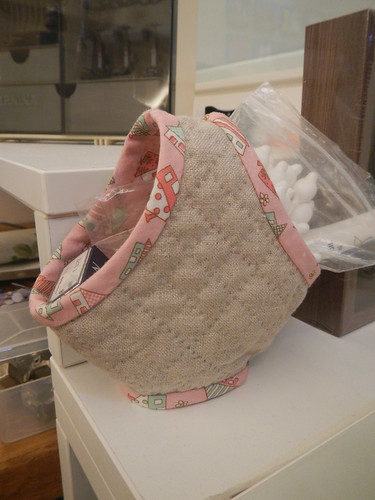 I have to share this little cutie with you. A friend made this for all the ladies in our quilting group last Christmas. She handquilted the main fabric and attached the bias binding by hand. She said it is a decorative basket. I put this little baby to good use and it holds my sewing machine cleaning supplies of q-tips, brush and fresh needles!
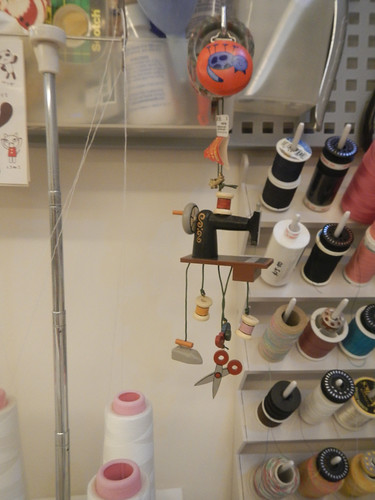 This little beauty (a X’mas tree decoration!) was bought from the Christmas Shop in Riquewihr when we travelled to France in 2013. Fancy buying Christmas decorations in June!
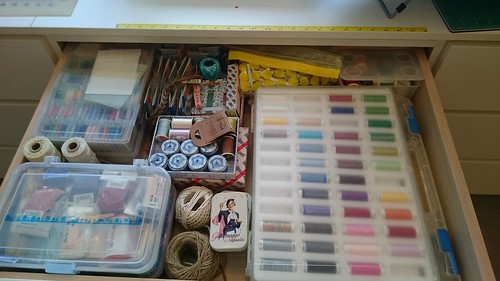 This drawer of hand/machine embroidery threads, sashiko threads, silk threads, cotton perle, linen spools and twine brings me loads of joy. 2 words. Eye. Candy.
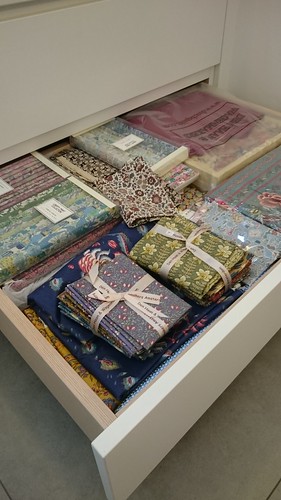 This collection of fabrics sits separate from the rest of the stash. I can sit on the floor next to this opened drawer and look at them for ages! The Dutch chintz and Liberty fabrics are just waiting for THE project to come my way.
 Most of the pre-cuts are stored here. I do reach for the pre-cuts pretty often, so the turnover in this area is rather high.
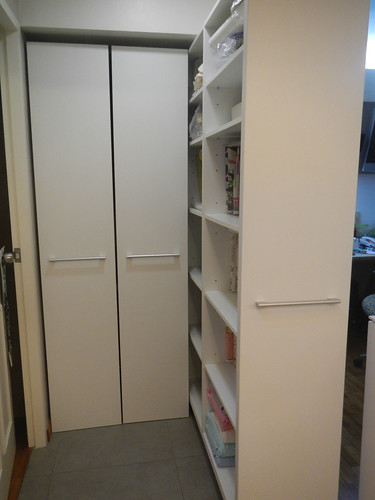 Secret stash cave. These pull-outs are custom built and they are rolling on industrial casters. I’m praying that the units will hold out for a long long time.
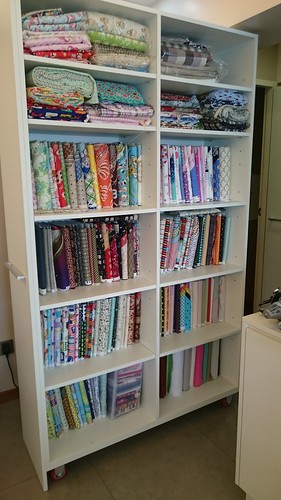 My fabrics (more than a yard) are wrapped around Mini Bolts (see demo here). I tried folding them with the ruler but the mini bolts do work best for me.
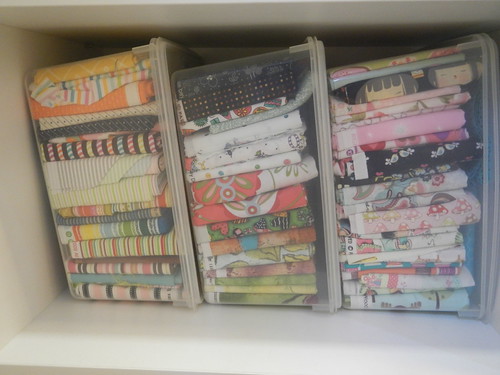
Fat Quarters fabrics 1 yard or less are folded and stored in tubs. Recently, I cleared enough space in the shelves to hold all 10 tubs. Hooray!
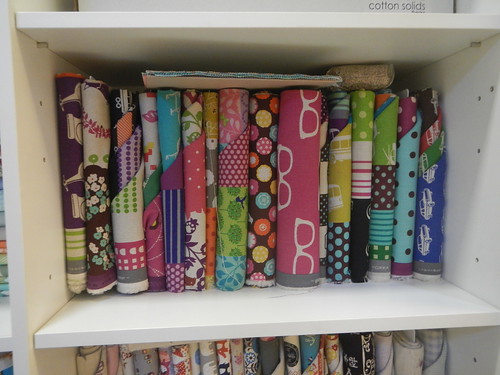 My Echino collection on the shelf. The Mini Bolts allow me to fold fabrics in the same line on the same bolt.
I organise my fabrics according to the genre – reproduction, novelty, kids, etc and then according to types. Like decor weight, dress making, minky, etc.
I have been through many set-ups for my sewing station. I learned a lot from friends who have rooms full of fabrics and through quilters who shared on their blogs. I may not have whimsical decorations around the craft area or vintagey looking stuff that look so cool in the instagram photos, but I’m very comfortable and happy to sew the nights and days away in my little corner.
That brings us to the end of the tour of my humble little corner. I wish you many yards of beautiful fabrics and loads of awesome projects in the coming weekend. Ta ta!

Hello Yvette, i so love your sewing room!! Esp the cupboards with fabric 🙂 do you sell those lovely fabric? 🙂