Archive / Sewing

RSS feed for this section

Zoo-ed out!

It has been a busy busy busy few weeks for everyone here. I’m not going to go into the nitty gritty of things, but it involved work, family, babies and a lot of hair pulling.

I had put off working on the Mish Mash Moo quilt for a while when my head was filled with work, stress and worry. Once the dark clouds cleared, I put the quilt on the Bernina and spent hours happily sewing away. It was so nice, working on this special quilt, thinking nice thoughts of the new owner 😀

Anyway, this post has NO pictures of the quilt – as I’ve self-imposed a no-photo ban of it till the quilt is pictured with the babe ;>

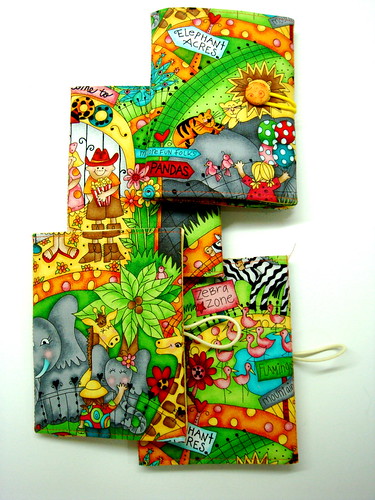
So…. here’s a picture of a custom Crayon wallet order, made with the Zoo fabrics that I’ve been dying to turn into a wallet for a long long time.

I made more Zoo wallets to list in my Etsy Store. One sold, Three more left! 😀


Stamps of approval

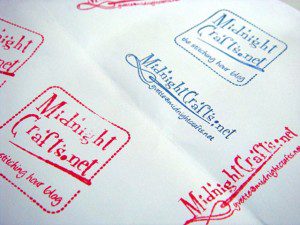
In my packaging for the goodies I sell at my Etsy store, I would include a handstamped Thank You card. Due to the size of the cardstock paper that I use, I can’t put the paper through the printer to include a printed logo on the card. Bummer.

Then hubby suggested that I make stamps so that I can make my mark on ANYTHING. What a brilliant idea. Love that chap. Heh heh.

stamps

Mama G emailed me the artwork which I supplied to the stamp maker. They were ready in just 2 days.

Gonna get stamping on cards, notes, envelopes, even fabrics, and whatever I can get my hands on. 🙂

Value-added on the wall

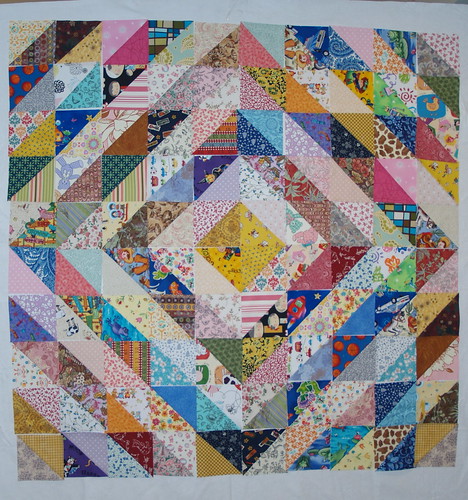
This mish-mash-moo quilt is specially commissioned by Mama G, for her own WIP little one 😉 She wanted a scrappy quilt and she liked what she saw at Willy-Nilly’s. Although many crafty bloggers only offer sneak peeks to their works before giving to the recipients, I believe I do need some WIP approvals as I go along for this commissioned quilt!

So, I’m done sewing up the Half-Square-Triangle blocks, cutting, ironing and squaring the blocks. It is layout time and I had so much fun! Initially, there was some trouble putting up some blocks because the contrast in values are not that great. But after putting it up on the layout wall, and taking a couple of pictures of it, I think the magic is working!

Made up of 100 unique charm squares cut from my stash.

So, is this a pass or a ‘try again’? I’m rather tempted to toss out a couple of ‘non-contrasty’ blocks. But I’m trying hard to switch some around to blend things in a bit better.


Tools of the Trade – Easy Square Jr.

I love Shopping, I love Tools… I guess that’s why I love quilting 😉 I guess you can get away with very basic tools, but why not make the process more enjoyable with all these lovely gadgets?

I wanna start this new series ‘Tools of the Trade’ because there are so much to share. I have accumulated a number of nifty tools and some are useful, some are just plain waste of $.

To kick off, I’m going share something that has come in SO useful for squaring up the blocks for my mish-mash-m00 quilt.

Easy Square Jr.

I bought this online after I decided to join in the fun at Bonnie’s Double Delight quilt-along. This tool is great for squaring up your blocks. It has a 1/4″ line all around, and the diagonals are great for matching up your ‘square-in-square’ block like the ones in Bonnie’s DD quilt.


mish-mash-moo block

How is it useful? Well, when you work with Half square triangles like what I’m doing for the mish-mash-moo quilt, the ruler helps me to square up the block. When I work with HST blocks, I prefer to cut the pieces a little bigger so that I have more run to trim it down to the correct size.

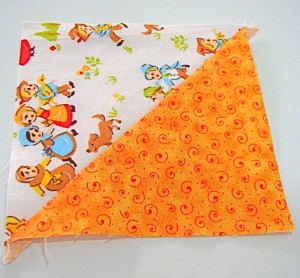
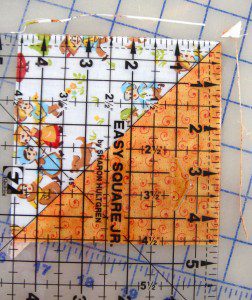
Here’s the block before squaring up. Currently about 4 5/8″ square.


Easy Square Ruler

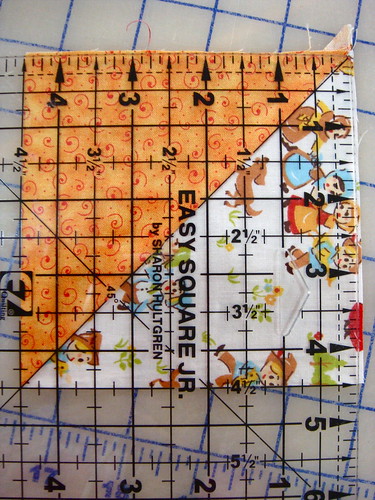
Line up the diagonal on the RULER with the diagonal on the SEAM of the block. And then line up the left and bottom sides of the block to slightly beyond the 4 1/2″ markings on the ruler.

This will allow the block to be squared up on the top and right sides of the square.


Rotate the block 180 degrees and line up the sides right on the 4 1/2″ markings on the ruler. Trim the right and top sides of the block.


There you have it! A bunch of 41/2″ squares trimmed quickly and accurately! 😀

Reel it in, please!

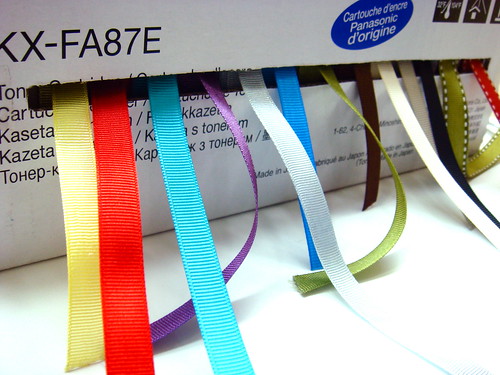
Ok. I went a bit Ribbon crazy. These pretty 3/8″ grosgrain ribbons looked so good that I just had to bring them home. Of course, they were on sale ;>

And then things got pretty out of control in my supplies drawer and I had to do something drastic: organise it.

I saw some fancy ribbon dispensing boxes at a scrapbooking shop sold at scary prices – but hey, I did this with ZERO dollars. I actually salvaged this box from our office paper recycling bin, cut a narrow window and stuffed the reels in. And it worked BEAUTIFULLY :> Of course, I could pretty-fy it a bit by covering it a little. But hey, I’d like to consider this a ‘F.O’. now, thank you very much :>