Archive / Tools

RSS feed for this section

Updated video: Introduction and review of Olfa cutters + some thoughts when choosing your self healing mats and rulers

Don’t know which Olfa cutter to get and what are the differences between the models?

In this updated video, I hope to address those questions and I’ve included the pretty aqua Splash cutter and the 18mm rotary cutter (great for cutting smaller patches) in this review. You can also see how the blades are switched out for each model. Any questions, please let me know!

To purchase the cutters, you can visit my Etsy Shop. Enjoy 5% discount with coupon code (valid till 31 Dec 2015): YOUTUBE2015

For local mailing (to Singapore addresses), you can shop here in Singapore Dollars  contact me for prices for Olfa Self Healing Mats and Acrylic Rulers.

Also, view how I used the 18mm cutters to cut the smaller patches with curves

Some tips when shopping for rotary cutting supplies
1) What materials do you cut with? (light weight, stretchy, thick, etc. 45mm size cutters for most fabrics and 60mm for thicker fabrics)
2) What sizes do you usually work with? (Large size, small handsewing projects – so you can consider which size cutter and whether you require a large mat or large ruler)
3) Do you need to cut parallel cuts of fabrics (e.g. cut width of fabrics folded into 2, or just smaller patterns on the yardage)
4) which mat size to buy? – ASK: How big is your worktop? (which is the LARGEST self healing mat size that will cover that area? My advice is to get the largest size that your table can accommodate)
5) which ruler size to buy – ASK: How big is your self healing mat (My advice is to get the longest ruler that your mat can accommodate)

Often, I will receive feedback from the quilters that they don’t have a large enough work table. I will ask them if they can sit their sewing machine on top of the cutting mat. And when they need to use to the entire area of the mat, they can move the sewing machine away (assuming the machine is portable).

Some quilters set their cutting mat on the dining table or on the floor (not recommended as it hurts your back and potential for accidents when the cutters are on the floor too). The mats have to be stored flat, so as long as they are kept away somewhere safe (a friend stores hers under the TV cabinet when not in use), then no issues.

If you quilt, get at least the A2 sized mats, with the basic rulers of 6″x24″ and 6″x12″ with a 45mm Rotary cutter. This combination will be good enough for your quilt making requirements as it allows you to cut across the width of fabric (about 22″ when folded selvage to selvage). Then add on the large square rulers (for squaring blocks and quilts) and smaller rulers (for working with patches).

Do note that you should use a self healing mat as normal mats may be too hard and that will affect the lifespan of your blades. When using a clearly marked acrylic ruler, you will be able to cut your pieces accurately.

Hope this helps!

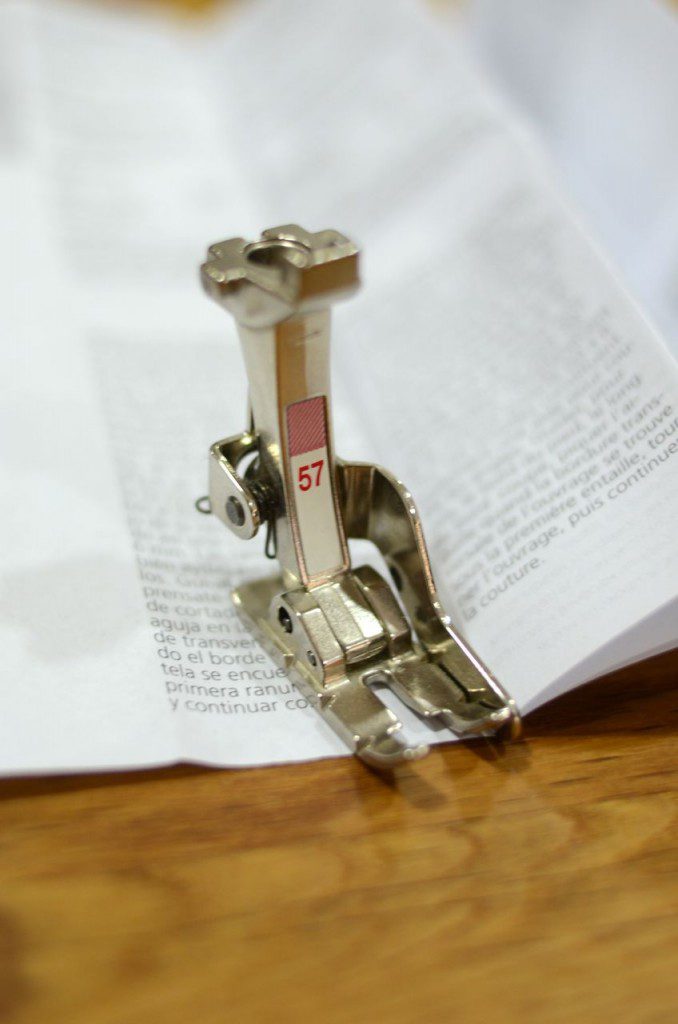
Destash #1: Bernina Patchwork Foot 1/4″ With Guide #57

After many episodes of Clean House and Hoarders, I feel it is time to let some crafty items go 😉

First up: Bernina Patchwork Foot 1/4″ with Guide #57. *UPDATE: SOLD*

It is a…

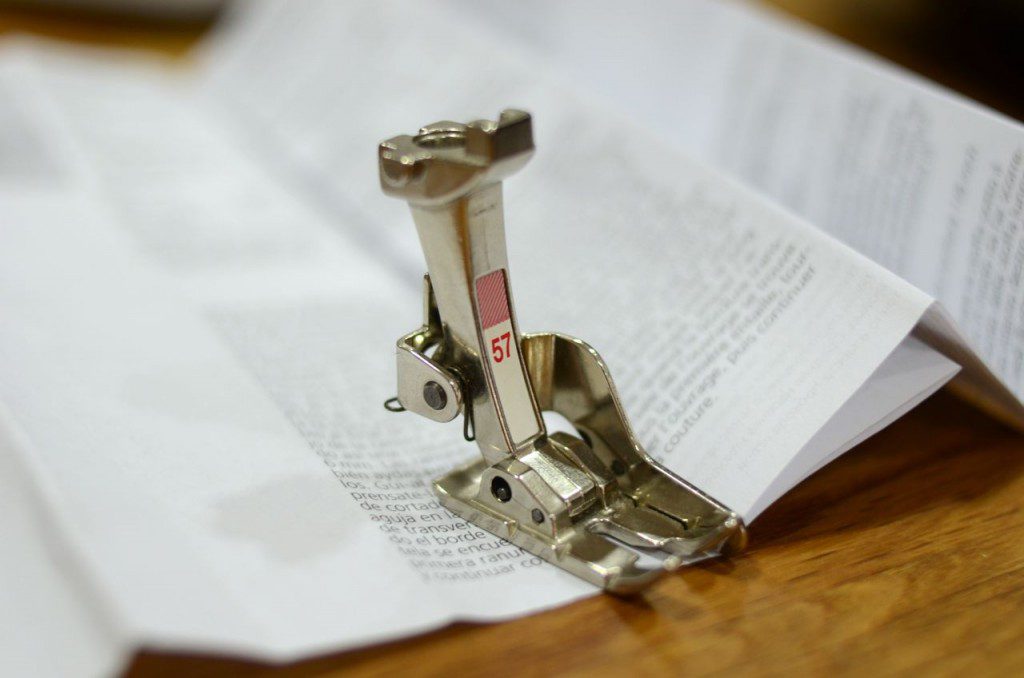
Straight stitch ONLY foot (no zig/zag stitches, just like your regular 1/4″ foot). This foot is like a 1/4″ foot, but comes with an integrated fabric guide.

Bernina #57

Buy it because…

The fabric/seam guide helps to ensure that your 1/4″ seam allowance is accurate, especially for sewing long strips like sewing jelly rolls and projects like colourwash or bargello quilts. I love this footer for power sewing those long strips together as I can chomp through them confidently. Just like the regular 1/4″ foot, it has markings 1/4″ in front and behind the centre position so that you can pivot, start and end your sewing accurately. Bernina #57

I am selling because…

This is a very lightly used footer and not compatible with my current Bernina.

The condition…

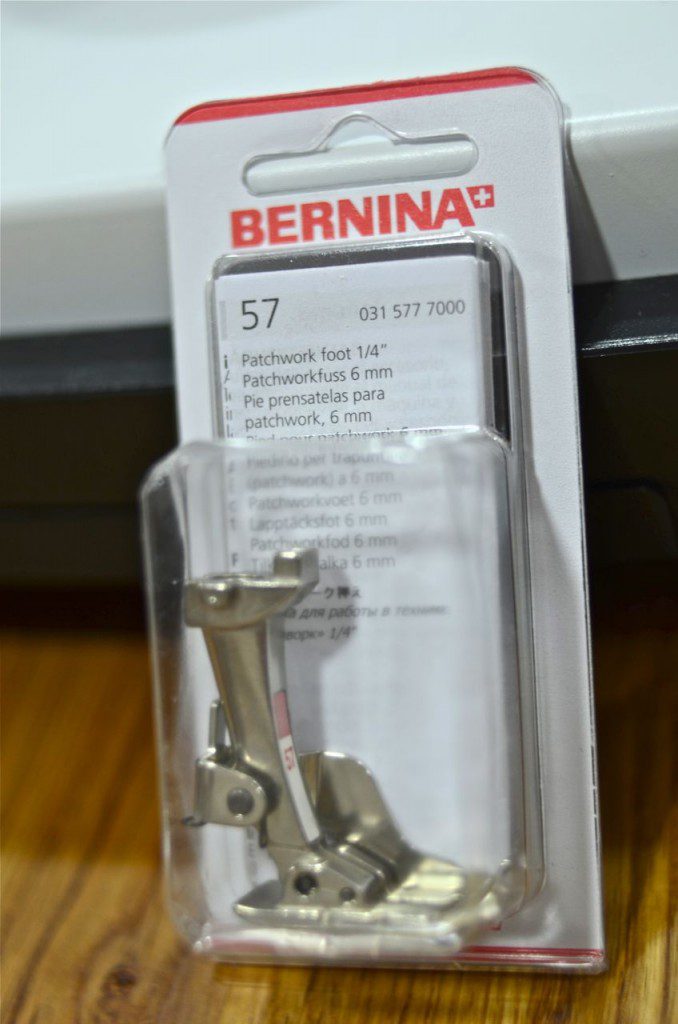
It is almost brand new. It comes with the original packaging, with the instructions sheet as well. I have used it less than 10 times! I just noticed a little mark on 1 side of the foot. I could have struck it when my needle was in the wrong position. But otherwise, this footer is in great condition.

Bernina #57 in packaging

Applicable models:

All Bernina models with 5.5mm stitch width. Not to be used with models which have a stitch width of 9mm.

I am asking for:

SGD$30 + SGD$2.50 (local registered post). Local buyers can pay via local bank transfer or cash upon collection.

USD$26 + International shipping (please contact me for shipping fees). International buyers can pay safely via PayPal.


Investing a little to save a little.

Happy New-ish Year!

While I’ve been away from the blog, the sewing machine was humming, fabrics were pulled off the shelves and more new fabrics were stuffed back into the cupboards over the past 6 weeks or so. And there were a lot of balls in the air – kids, work, house chores, sewing, appointments at the doctors, etc. With the Chinese New Year coming up soon, there are of course more shopping, cleaning and scheduling to do. But I’m finally able to see the light as work and family schedules are falling into their places.

The sewing has not stopped! I started on a faux chenille blanket for a friend’s upcoming new baby and completed that over the weekend. The main fabric is a quilting cotton Oliver & S fabric, layered with 1 x Kona cotton, 1 x cotton/linen blend and 1 x cotton flannel. Binding the blanket became an issue for me – I like to hand sew down binding for the neat/invisible look. But I was short of time and I was not sure I wanted to hand sew down through fiddly layers of cut fabrics.

I decided that I would machine sew the binding down and went with a store-bought bias binding this time. I tried to clip the binding down, but I didn’t feel confident that I would catch the bottom part of the bind when I top-stitch it down. I decided to invest a little more time so that I will get it right and perfect the 1st time. Out came the Japanese basting needle and threads and I took my time to fold the binding over the blanket.

This morning I completed the sewing at the machine and sent it off to the wash.

Faux Chenille - Binding

I cut the chenille part with my Clover slash cutter that I bought from Rosie’s store a few years ago. You can use a pair of regular scissors, but again, its good to spend a little for a nifty little tool that will give you great results and save you lots more time (and also reduce strain on your hands). This cutter comes with 2 guides – one for straight slash cutting (as pictured below) and for shorter guide for curved lines. Minimum width of the ‘channel’ is about 1/4″ (6mm), and for this blanket I sewed my lines about 1/2″ apart.

Faux Chenille - Slash Cutter

Can’t wait to see this blankey wrapped around its new owner soon!

Rotary Cutters Illustrated (er… filmed?) – UPDATED*

I have about 8 Rotary cutters in my collection. From cutting circles, wave/pinking patterns, to using different sizes for different types of projects, etc. Through the 45mm family of cutters, I explain how each cutter is used and discuss the ease of replacing/changing the blades.

Pardon the background ‘noise’ as my boy was playing with his lego bricks nearby.

The cast:

1) Wave cutter: WAC-2

2) 45mm Rotary Cutter: RTY-2/G

3) 45mm Deluxe Rotary Cutter: RTY-2/DX

4) 45mm Quick-Change Rotary Cutter: RTY-2/NS

If the player is acting up, you can click here to view the video too.

*UPDATED 22nd Aug 2011

In the video, I mentioned that the 45mm cutters can use either the straight and decorative blades interchangeably. But upon scrutiny of the packaging of the cutters, there are some cutters that will take either type of blade, or both.

1) Wave cutter: WAC-2 (Can use ALL decorative blades – no indication that straight blade RB45 is supported)

2) 45mm Rotary Cutter: RTY-2/G (Only straight blade RB45 recommended)

3) 45mm Deluxe Rotary Cutter: RTY-2/DX (Supports Straight Blade RB45, Wave blade & Pinking blade)

4) 45mm Quick-Change Rotary Cutter: RTY-2/NS (only straight blade RB45 recommended)

If the player is acting up, you can click here to view the video too.

If you have any questions about usage/price/availability with regards to the above, please let me know!

Happy crafting!

Sewing for Baby L

A couple of weeks ago, I had a few quick finishes. I remember being really happy, working on these projects. Because I got bust some Japanese fabrics that I was in danger of hoarding and also trying my 1st bias binding, and my virgin attempt at crafting with the baby strap hardware.

Anpan Man pre-quilted fabric

Cot-sized quilt made with ultra-cute Anpan man pre-quilted fabric, hand sewn bias binding

Stroller-sized blankie made with 100% cotton and backed with flannel.

I remember spending quite a bit of $ on ugly binky straps and general straps to tether items near Benji when he was little. So, I whipped up a couple of straps for Baby L that not only function as binky straps, but also as the tether strap for the stroller blankie.

Kawaii fabric tapes (for stroller blankie and binky straps) from Moopie Fabrics.