Recent Products

Sewing space re-work ideas

My sewing space took on many changes over the past years – from sewing on a tiny Ikea table in my bedroom to a more generous space in our loft. For the past few weeks, hubby and I have been cracking our heads trying to re-jig the sewing space configuration again to make things work a little better for me. We thumbed through our Ikea catalogs, browsed the website, and drew and sketched. We really got to a point where I told hubby to go buy a circular saw and make us our furniture from now on! Anyway, we managed to draft a solution – and we’ll take a few more measurements before we order the drawers and worktop. In my ‘research’, I found Jan’s video. Her quilting space is AMAZING! I absolutely love the table, her space/view outside her house, her husband’s woodwork and the clever quilt display frame! I pulled my man over to watch this video with me and he could totally relate to Jan’s words like ‘I work so that I can go buy material’ and the cameraman’s “you have more stuff than walmart!’. After the video, hubby proclaimed that he would set-up a woodwork shop in the garage, grow his hair long, and build everything we need when he retires.

So, how do you orgainse your sewing space or room?

Patchwork and Chinese New Year

I went to the bank to run a little errand and there was this nice customer service lady who offered me some packs of Red Packets (Hong Bao). I refused her with a smile – was recalling how the same bank were limiting the number of red packets to each customer just last year. Must be trying to make up for the service lapse during the recent ATM skimming fiasco.

And while waiting to be served, I saw that the boy & girl featured in the design are wearing PATCHWORK costumes! It reminded me of a display at the Peranakan museum some months back. And then I just gotta have this year’s designs! I took 2 packs (10 pcs each, with boy/girl designs in each pack).

Gong Xi Fa Cai!

There are gold embossing details – with the top stitching (quilting lines) in gold! And check out the little girl carrying a gold-framed purse with a stinking cute chinese knot string.

Gong Xi Fa Cai!

The 1/2 square triangles in the design really made my day 😀

Investing a little to save a little.

Happy New-ish Year!

While I’ve been away from the blog, the sewing machine was humming, fabrics were pulled off the shelves and more new fabrics were stuffed back into the cupboards over the past 6 weeks or so. And there were a lot of balls in the air – kids, work, house chores, sewing, appointments at the doctors, etc. With the Chinese New Year coming up soon, there are of course more shopping, cleaning and scheduling to do. But I’m finally able to see the light as work and family schedules are falling into their places.

The sewing has not stopped! I started on a faux chenille blanket for a friend’s upcoming new baby and completed that over the weekend. The main fabric is a quilting cotton Oliver & S fabric, layered with 1 x Kona cotton, 1 x cotton/linen blend and 1 x cotton flannel. Binding the blanket became an issue for me – I like to hand sew down binding for the neat/invisible look. But I was short of time and I was not sure I wanted to hand sew down through fiddly layers of cut fabrics.

I decided that I would machine sew the binding down and went with a store-bought bias binding this time. I tried to clip the binding down, but I didn’t feel confident that I would catch the bottom part of the bind when I top-stitch it down. I decided to invest a little more time so that I will get it right and perfect the 1st time. Out came the Japanese basting needle and threads and I took my time to fold the binding over the blanket.

This morning I completed the sewing at the machine and sent it off to the wash.

Faux Chenille - Binding

I cut the chenille part with my Clover slash cutter that I bought from Rosie’s store a few years ago. You can use a pair of regular scissors, but again, its good to spend a little for a nifty little tool that will give you great results and save you lots more time (and also reduce strain on your hands). This cutter comes with 2 guides – one for straight slash cutting (as pictured below) and for shorter guide for curved lines. Minimum width of the ‘channel’ is about 1/4″ (6mm), and for this blanket I sewed my lines about 1/2″ apart.

Faux Chenille - Slash Cutter

Can’t wait to see this blankey wrapped around its new owner soon!

Etsy Store Update + Year End Sale Coupon!

It’s been a while since I have updated the store. Husband has been kind enough to take some shots of the items when playing around with his camera. 😀

Christmas really comes early this year as we have already packed and given away our 1st gifts (teachers & classmates).

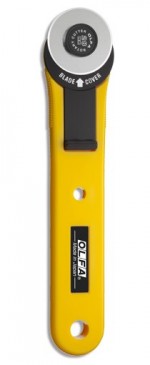
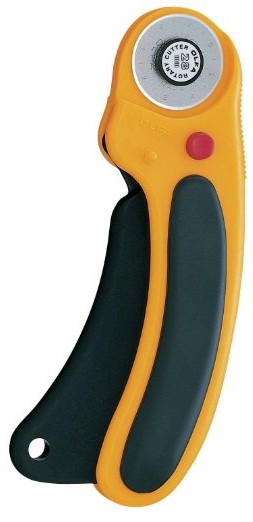
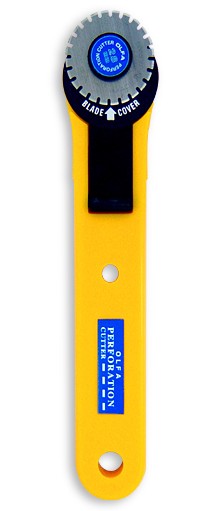
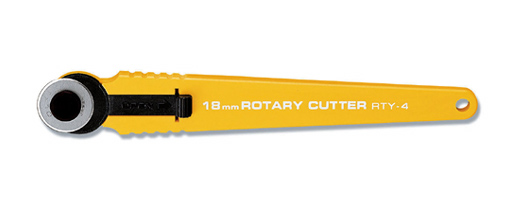
And to get you started on your christmas shopping, here’s a 10% off coupon code (Yes! Including Olfa items): xmas2011

Valid till 31 December 2011 and applicable for all items listed on Etsy.

// Zipper Pouches //

xmas selectionxmas selection


xmas selectionxmas selection


// Premium Grade Lavender Sachets //

xmas selection xmas selection

aarrrrgggghhhhh….. to rip or not to rip????

The new I Spy baby quilt is simply NOT working out for me. I bought this softbook panel a long time ago. But decided that it was too big and flimsy to be a good soft book, although it would probably make a great I Spy quilt instead.

I took a long time cutting and piecing the quilt, and another good few months before I sandwiched the quilt. I got the quilting done ONLY because I needed to free up some space in my WIP drawer. So, its a ‘difficult’ quilt for me since the start.

I SEE...

Benji loves the quilt and had a great time reading the text and ‘spying’ the images. But he declared it as ‘TOO SMALL’ for his bed. My son loves big quilts that have generous overhang. Sigh…

I SEE...

The ultimate blow was when I realised that the binding was a real hot mess – fabric is from Sevenberry – and even after 5 rounds of Synthrapol treatment, the binding could not be saved (although I got the reds from the main quilt out).

I SEE...

Now, I’m wondering if I should simply rip out the binding or leave it as-is???